 How-to
Best Streamlined Insurance Claim Process for Hidden Damage
Table of Contents
- Why Hidden Roof Damage Gets Missed and How to Catch It
- What to Do Before You File: The Roof Inspection for Insurance Claim
- Storm Damage Documentation for Insurance Claim: The Evidence That Gets Results
- The Roof Claim Inspection Timeline: What to Expect and When
- How to Work With Insurance Adjusters Without Getting Shortchanged
- When the First Offer Falls Short: Filing a Supplemental Roof Insurance Claim
- Common Mistakes That Slow Down or Sink Your Claim
- Frequently Asked Questions
Last Updated: October 12, 2026
Why Hidden Roof Damage Gets Missed and How to Catch It
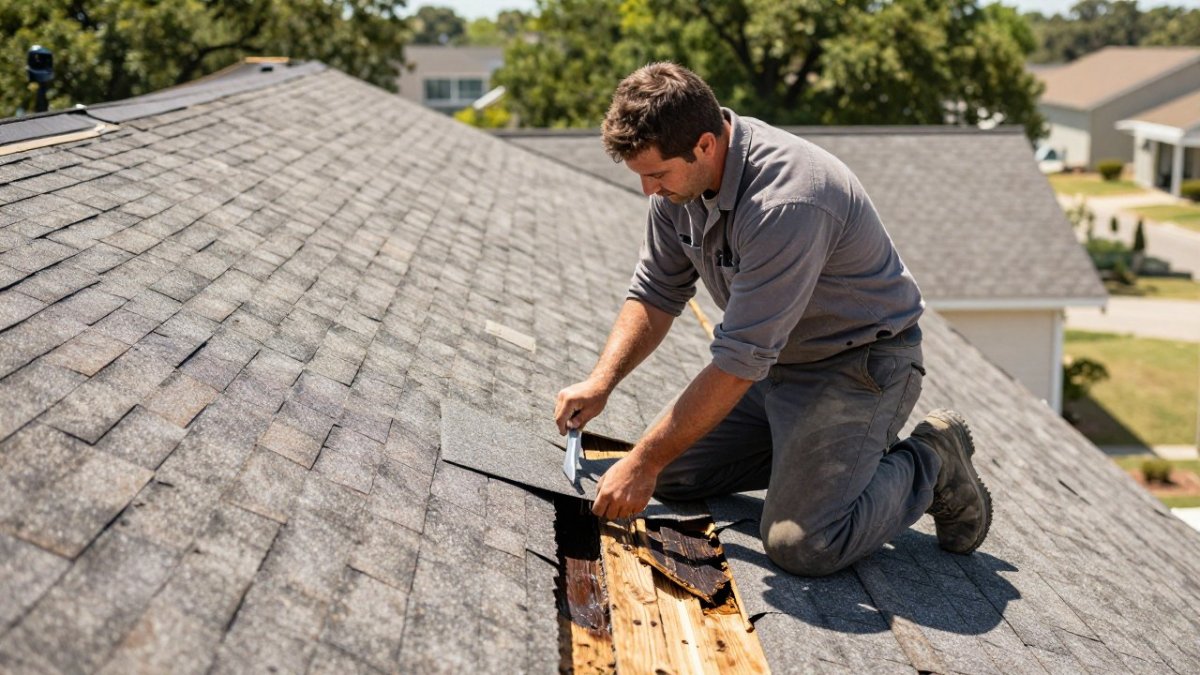
Hidden roof damage is the damage you cannot see from the ground: cracked shingle mat, bruised underlayment, hairline fractures around vents, and soft spots in the decking that hidden damage inspections are designed to catch. It rarely shows up right after a storm. It shows up months later as a ceiling stain or a slow leak.
That delay is the whole problem. By the time water reaches your drywall, the damage has been spreading quietly for weeks.
The best simplified insurance claim process for hidden damage inspections starts long before you call your carrier. It starts with proof. Without documented evidence, an adjuster sees no damage, and you pay for the repair yourself.
This guide from A-Group Capital Roofing breaks down that process step by step, from the first inspection to the final settlement.
What to Do Before You File: The Roof Inspection for Insurance Claim
A roof inspection for insurance claim purposes is a documented evaluation of storm damage performed before you contact your carrier. It creates the baseline your claim is built on.
Timing matters more than most people realize. Many policies require you to report storm damage within a set window, so check your policy language or ask your agent about deadlines as soon as you suspect a problem (Settling insurance claims after a disaster).

What a Thorough Inspection Report Must Include
A report that holds up under adjuster scrutiny covers:
- Date, time, and weather conditions at inspection
- Roof age, material, and number of layers
- Areas of damage, marked by roof slope and direction
- Close-up photos of every damaged section
- Test squares: chalk-marked areas showing hail or wind hits
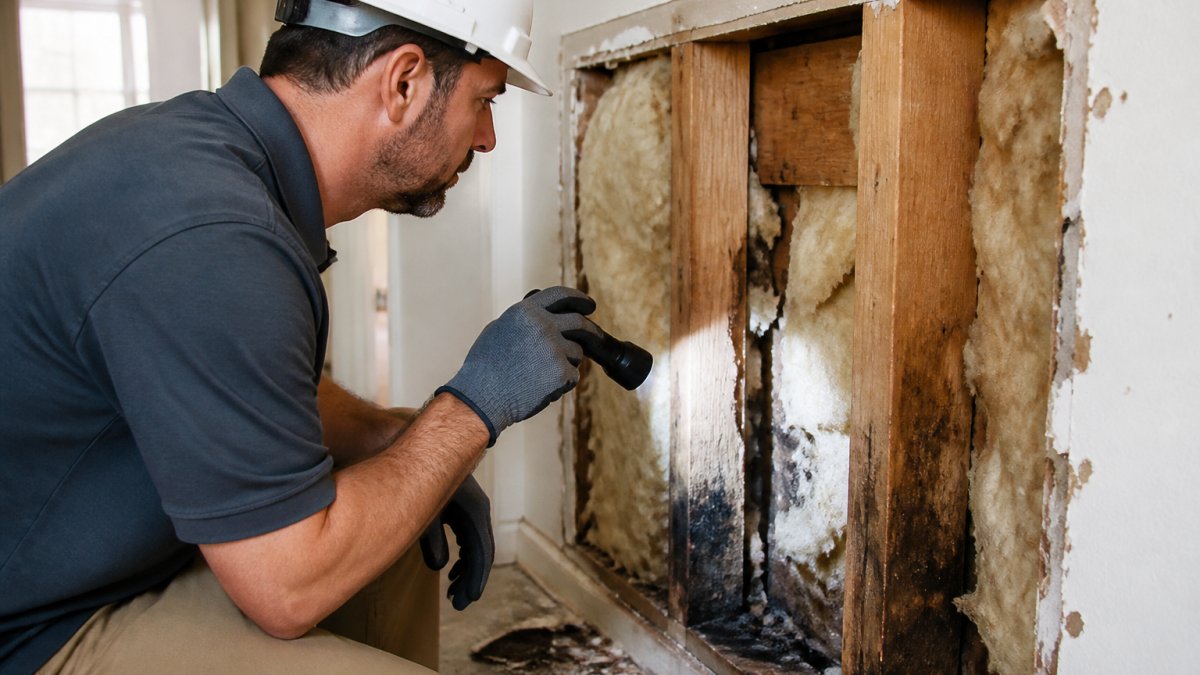
- Attic and interior checks for water intrusion
- A written summary tying damage to a specific storm event
If a report skips the test squares or the interior check, expect pushback.
Why You Need an Inspection Before Filing
Filing first and inspecting later puts you on the defensive. You end up arguing about damage you never documented.
An inspection first does three things:
- It confirms whether you actually have a claim worth filing
- It gives your adjuster a clear map of the damage
- It creates a record if the first offer comes in low
At A-Group Capital Roofing, our free same-day estimates include a full damage assessment, so you know where you stand before you ever pick up the phone.
Storm Damage Documentation for Insurance Claim: The Evidence That Gets Results
Storm damage documentation for insurance claim files succeeds or fails on one question: can a stranger look at your file and see the damage without visiting your roof?
Strong files answer yes. Weak files leave gaps an adjuster fills with a denial.
Photographic and Video Evidence That Holds Up
Photos win claims. But not all photos count.
- Shoot wide shots first, then close-ups of the same area
- Include something for scale, like a ruler or coin
- Photograph every slope, not just the obvious damage
- Capture the date stamp on every image
- Take short videos walking each roof section
- Photograph interior ceilings, attic decking, and insulation
Store everything in one folder, labeled by date and roof section.
Written Documentation and Third-Party Reports
Photos show damage. Writing explains it.
Keep a simple log with these entries:
| Item | What to Record | Why It Matters |
|---|---|---|
| Storm date | Day, time, and weather event | Ties damage to a covered event |
| First noticed | When you saw the first sign | Shows timely reporting |
| Inspection date | When a pro assessed the roof | Establishes the evidence timeline |
| Damage list | Each area and what is wrong | Gives the adjuster a checklist |
| Repair quotes | Written estimates from contractors | Supports your claimed amount |
A written contractor report carries more weight than photos alone because it ties damage to cause. The Texas Department of Insurance homeowner resources explain how policyholders can document and dispute storm claims, and it is worth reading before you file.
The Roof Claim Inspection Timeline: What to Expect and When
The roof claim inspection timeline usually runs from a few days to several weeks, depending on claim volume and weather. Here is the sequence most homeowners see.
From Filing to Adjuster Visit
Once you file, your carrier assigns a claim number and an adjuster. You will typically hear from the adjuster within a few business days, though back-to-back storm seasons slow everything down.
Have these ready for the visit:
- Your inspection report and photo file
- Your policy number and claim number
- A list of questions, written down
- Access to your attic and interior ceilings
Walk the roof with the adjuster if you can. Point out documented damage. Do not argue. Just make sure nothing gets skipped.
After the Adjuster Leaves: Decision and Payment Windows
After the visit, the adjuster files a report and the carrier issues a decision. Simple claims move faster than complex ones with disputed scope.
If approved, you receive a settlement breakdown showing what is covered. Many policies release payment in stages, with a portion held back until work is complete. Ask your adjuster to explain the payment schedule in writing.
How to Work With Insurance Adjusters Without Getting Shortchanged
Treat the adjuster as a professional doing a job, not an opponent. Most are fair. The problems come from gaps in the file, not bad faith.
Three habits protect you:
- Put every conversation in writing, by email when possible
- Ask for explanations of anything you do not understand
- Never sign a final release until you are satisfied with the scope
If your adjuster misses documented damage, say so politely and point to the photo number and report page. Specifics beat frustration every time.
When the First Offer Falls Short: Filing a Supplemental Roof Insurance Claim
A supplemental roof insurance claim asks your carrier to cover damage the first settlement missed. It is a normal part of the process, not a confrontation.
What Triggers a Supplemental Claim
Common triggers include:
- Hidden damage found once shingles come off
- Rotted decking or failed flashing the adjuster did not see
- Code-required upgrades the first scope left out
- Interior damage discovered after the roof work started
How to Build and Submit Your Supplement
Supplement requests follow the same rule as the original claim: evidence first.
- Photograph the newly exposed damage before anything gets covered
- Get a written line-item estimate from your contractor
- Submit the photos, estimate, and a short cover letter to your adjuster
- Reference the original claim number on every page
- Follow up in writing if you do not hear back within a week
Contractors who handle insurance work deal with supplements constantly. That is one reason we walk every homeowner through the process rather than handing over a report and disappearing.
Common Mistakes That Slow Down or Sink Your Claim
The same errors show up again and again:
- Filing before any inspection or documentation exists
- Throwing away damaged materials before the adjuster sees them
- Missing your policy's reporting deadline
- Accepting the first offer without comparing it to your contractor's scope
- Skipping the attic and interior check
- Hiring a contractor who will not put anything in writing
Each one gives your carrier a reason to reduce or deny the claim.
Hidden damage does not announce itself, and insurance carriers do not pay for what they cannot see. The homeowners who get fair settlements are the ones who document first and file second.
At A-Group Capital Roofing, we provide thorough roof inspections, detailed damage documentation, and hands-on help through the insurance restoration process. Our free same-day estimates, insurance claim expertise, and two-year workmanship warranty mean you are covered from the first inspection to the final walkthrough.
Call (682) 219-9933 to schedule your inspection and start your claim on solid ground.
Frequently Asked Questions
How do I file an insurance claim for hidden roof damage?
Start by getting a professional roof inspection for insurance claim purposes. A licensed contractor will document all damage, including hidden issues like cracked pipe boots or deteriorated flashing. File your claim with your insurance company, submit the inspection report and photos, and schedule the adjuster visit. Having thorough storm damage documentation for insurance claim support ensures nothing is overlooked.
Can an insurance adjuster miss hidden roof damage?
Yes, adjusters often miss hidden damage because they may not climb onto the roof or inspect under shingles. They rely on visible signs. That's why a pre-claim roof inspection for insurance claim is critical. A contractor can identify issues like damaged underlayment or decking that an adjuster might overlook. If the initial estimate misses damage, you can file a supplemental roof insurance claim.
What should I do if the insurance estimate misses damage?
If your insurance estimate misses damage, request a supplemental roof insurance claim. Gather additional documentation, such as a contractor's report and photos of the missed damage, and submit it to your adjuster. The roof claim inspection timeline may extend, but a supplement can recover funds for overlooked repairs. Work with your contractor to ensure all damage is included.
How long does a roof claim inspection take?
The roof claim inspection timeline varies. Keep in mind that timelines can vary by insurer and claim complexity.